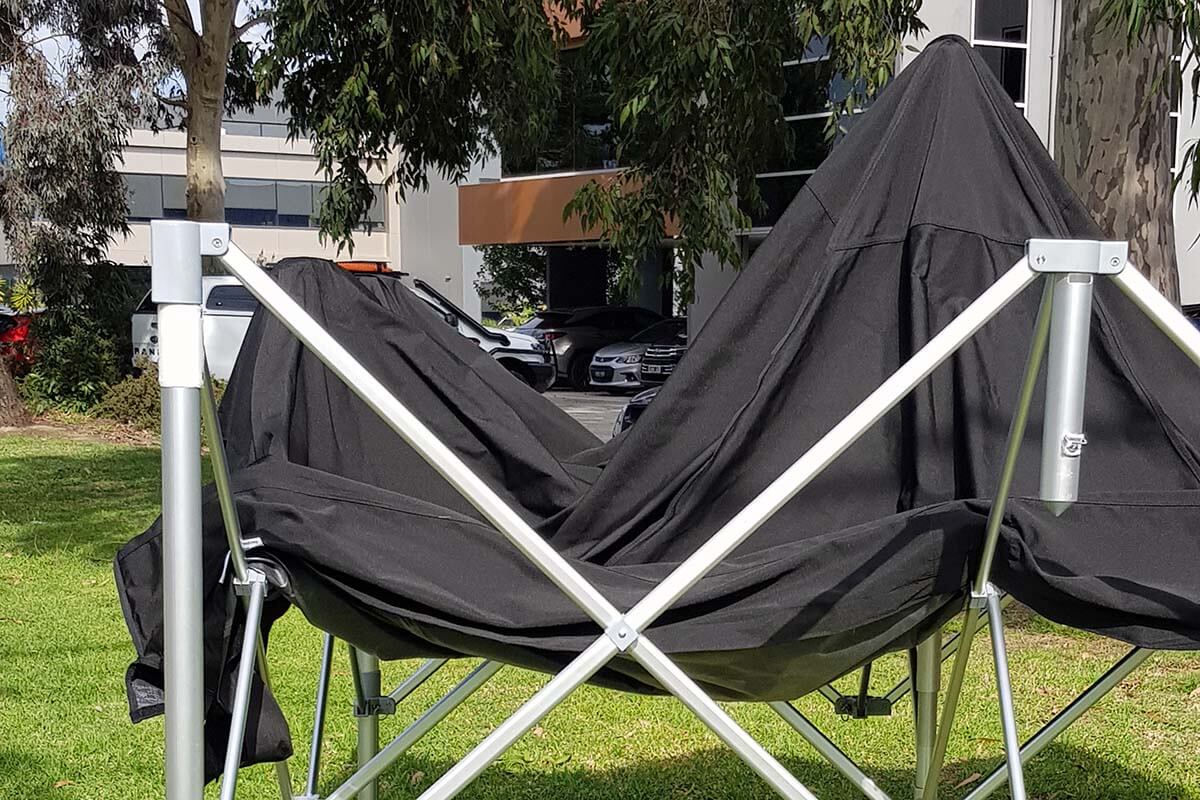
Whether it’s a strong gust of wind that came and collected the marquee because it wasn’t tied or weighted down properly, or perhaps it hit another marquee or building, marquees can often take a beating. We’ve also heard stories of people backing their car into their marquee leg; yes that has happened... multiple times!
The good news is; we always have spare parts available for our Circulex frames. Legs are one of the toughest components of the Circulex frame, but as with anything, it isn’t indestructible. If you find yourself in the situation of needing to replace your marquee leg, it is actually a rather quick and straight-forward process.
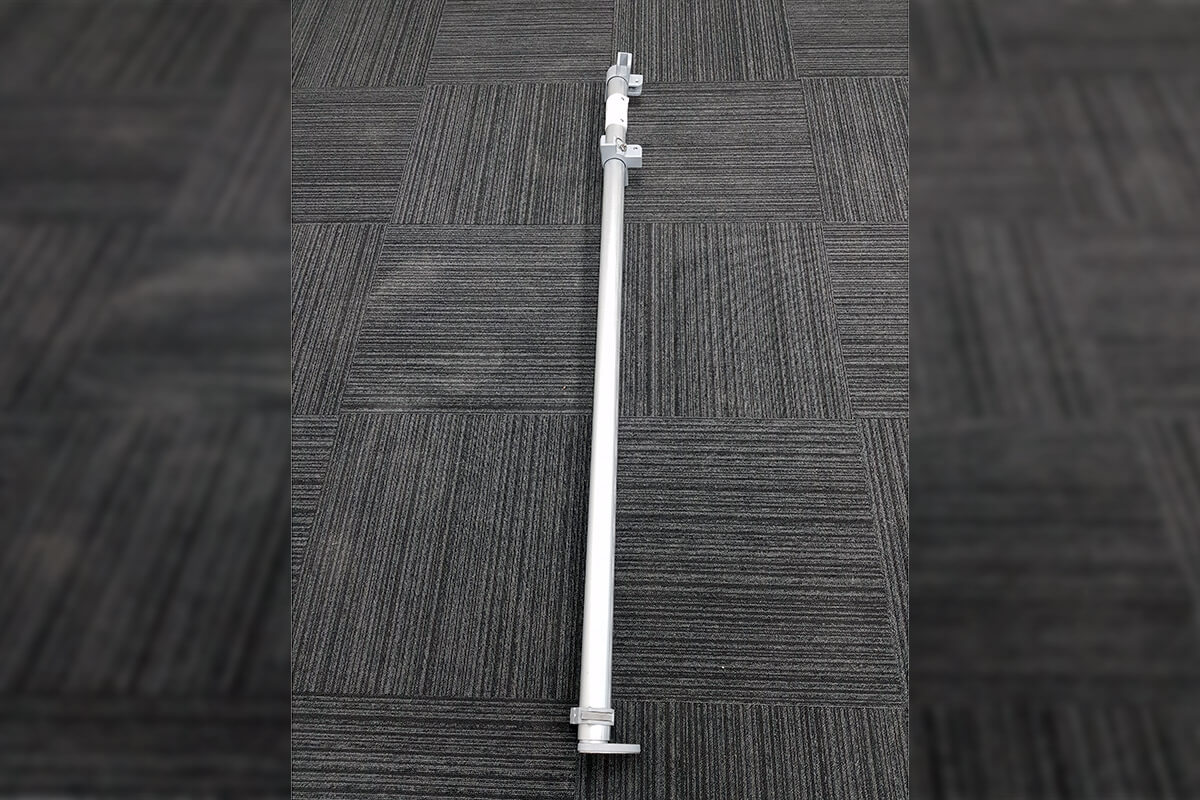
Marquee Leg Components
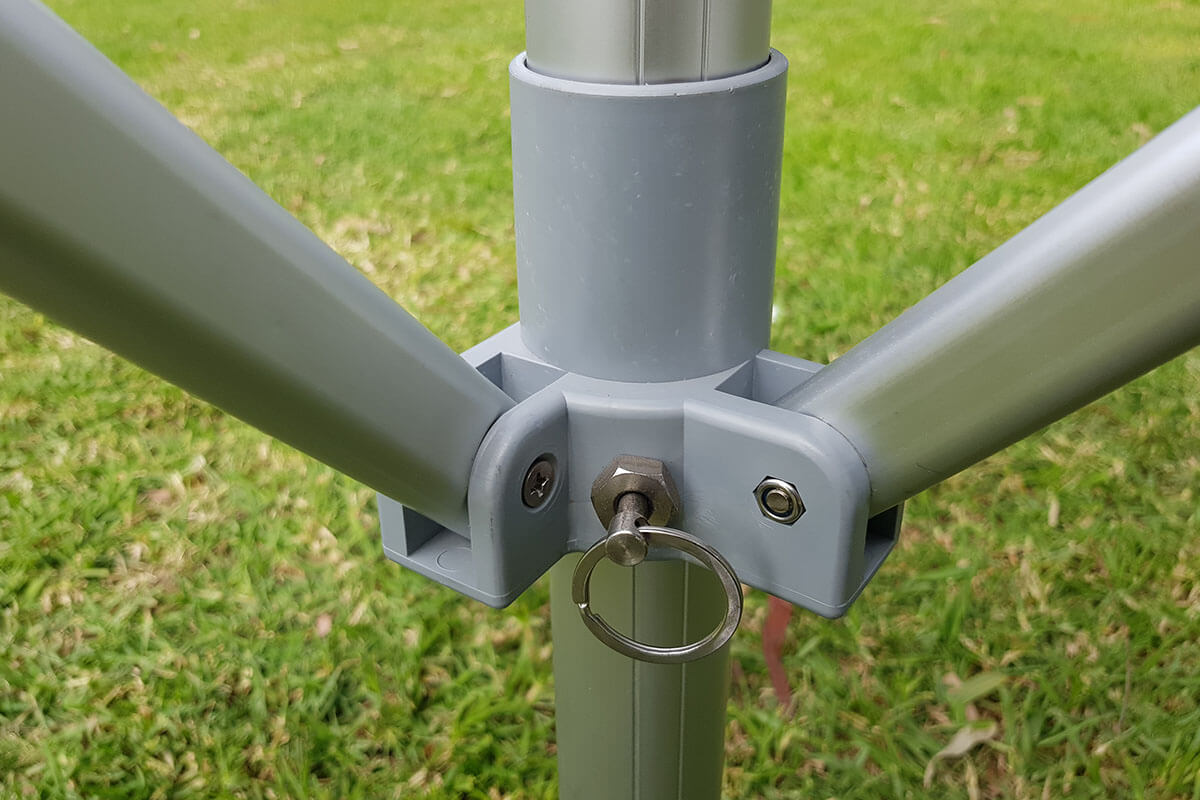
Our marquee legs are made up of an inner and outer pole, providing an adjustable length for the marquee as well as stability. The poles aside, there are four main connector components the leg comes with:
- The footplate
- The pull pin clip
- Sliding connector
- Upper connector (corner or T-piece)
We always sell our replacement legs as one complete unit, which gives you the assurance that everything is brand new, undamaged, and intact.
Replacing the Leg
Tools required:
- Phillips Head screwdriver (with cordless drill attachment preferable)
- New Marquee Corner Leg
With this particular guide, we are going to be focusing on replacing a corner leg. If you need to replace the middle leg of a 3x6m or 4x8m, the instructions are near identical, however you will face a different orientation when it comes to connecting the leg to the cross pieces etc.
Total time: 5 minutes
Remove the Top
Remove the marquee top and walls around the area with the damaged marquee leg to allow for clear access. You don't need to remove the whole marquee top, just the section around the marquee leg.
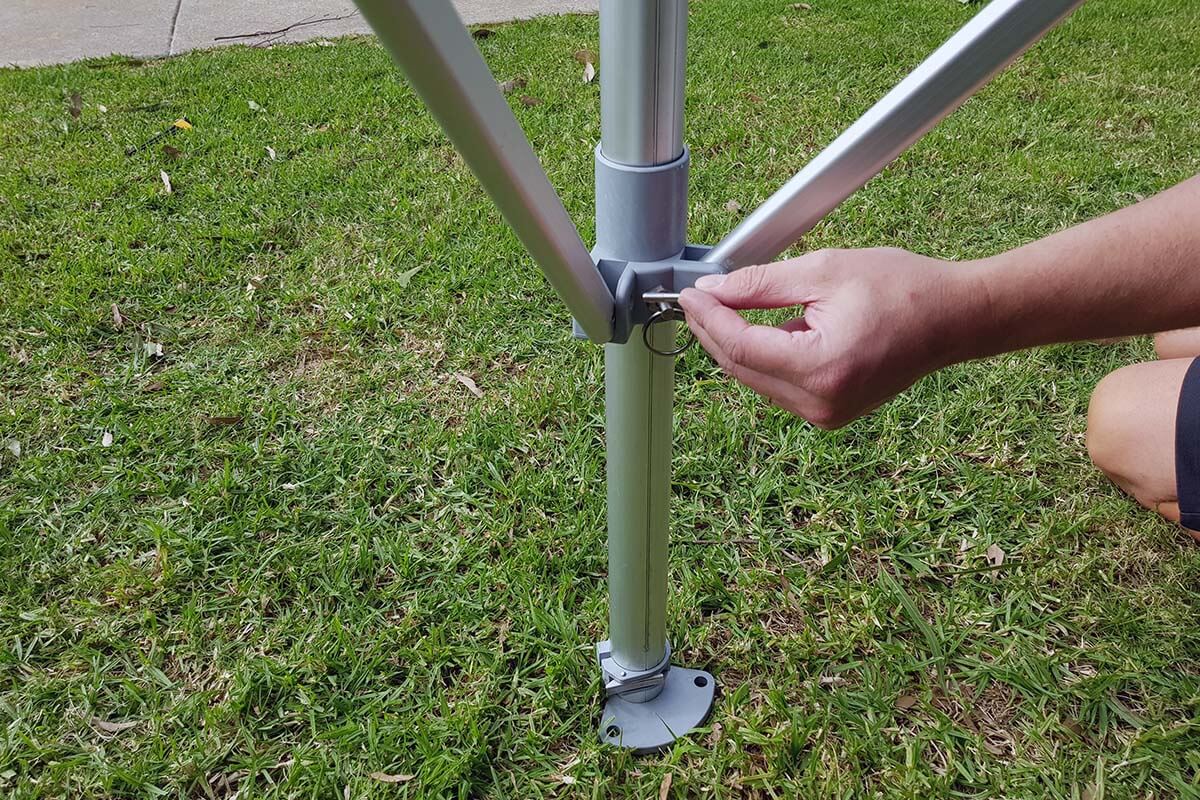
Unscrew The Leg
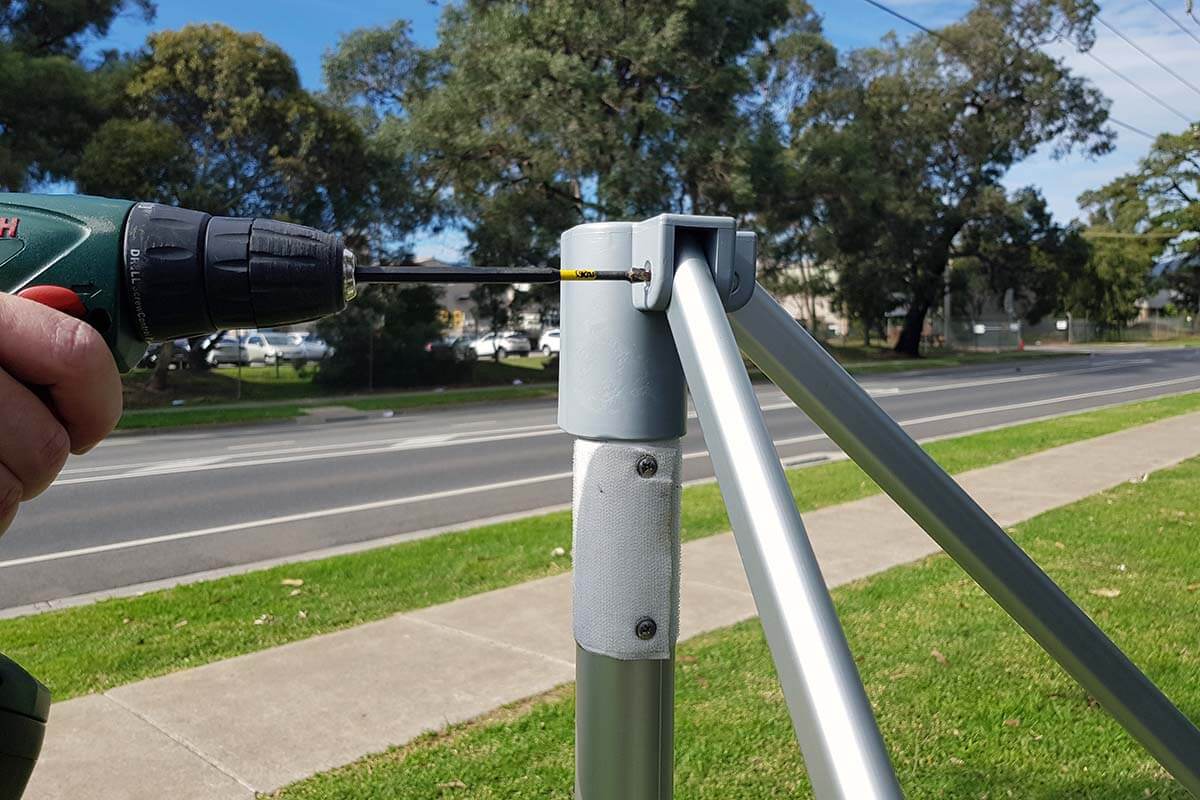
Each corner leg is attached to two marquee cross pieces at 4 points - each fastened with a bolt. 2 points are found on either side of the top grey connector, and the other two are on the sliding connector.
Undo all 4 points using a Phillips Head screwdriver to loosen the bolt. Be sure not to lose the bolts as you’ll need them to secure the new corner leg in place.
Remove The Leg
Once the bolts have been removed at the 4 connection points, the leg will be free to remove.
Put In New Leg
Now it's time to replace the new corner leg. Insert the 4 x crosspiece ends so they sit within the slots of the grey connectors for the new marquee leg. Add the bolts through the existing holes in the connectors and crosspiece.
You may need to first hand-tighten all 4 bolts to hold them in position and re-attach the crosspieces at the 4 previous points.
Refasten The Top
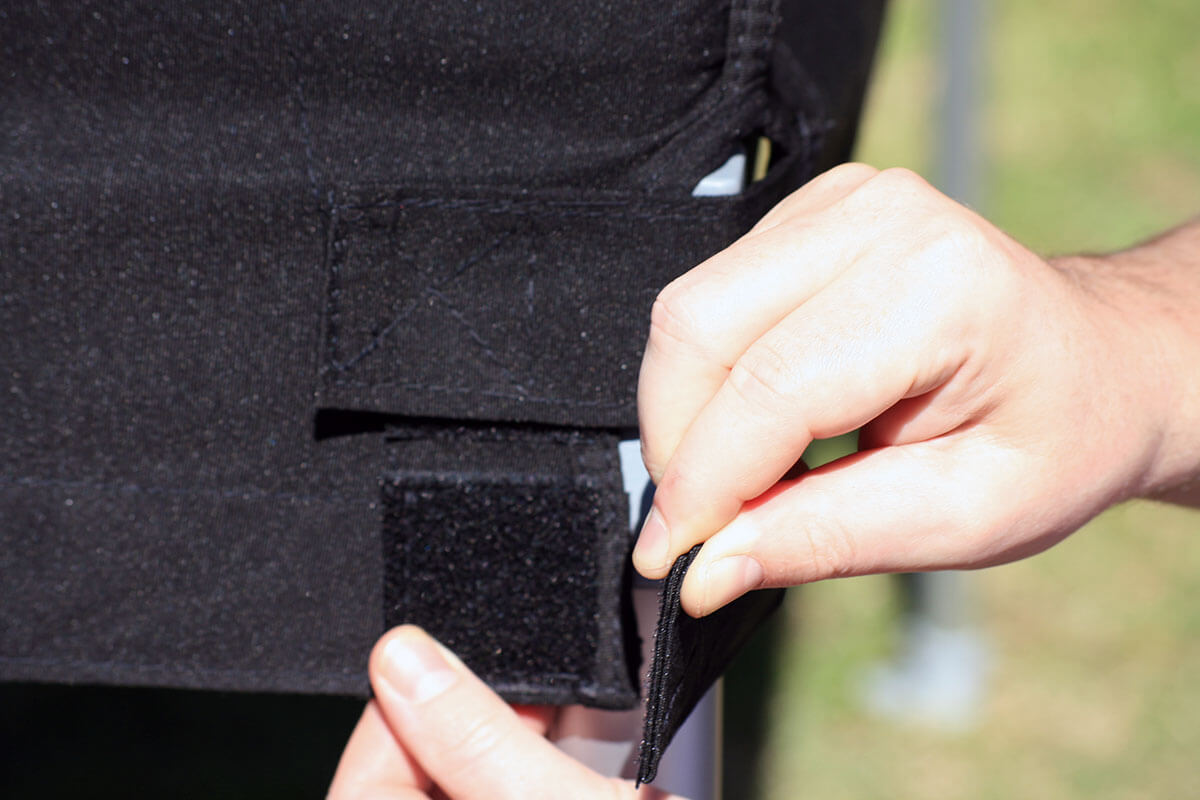
Retighten the bolts with the screwdriver. Then replace the marquee top velcro points to the top of the new marquee leg.
Finishing Up
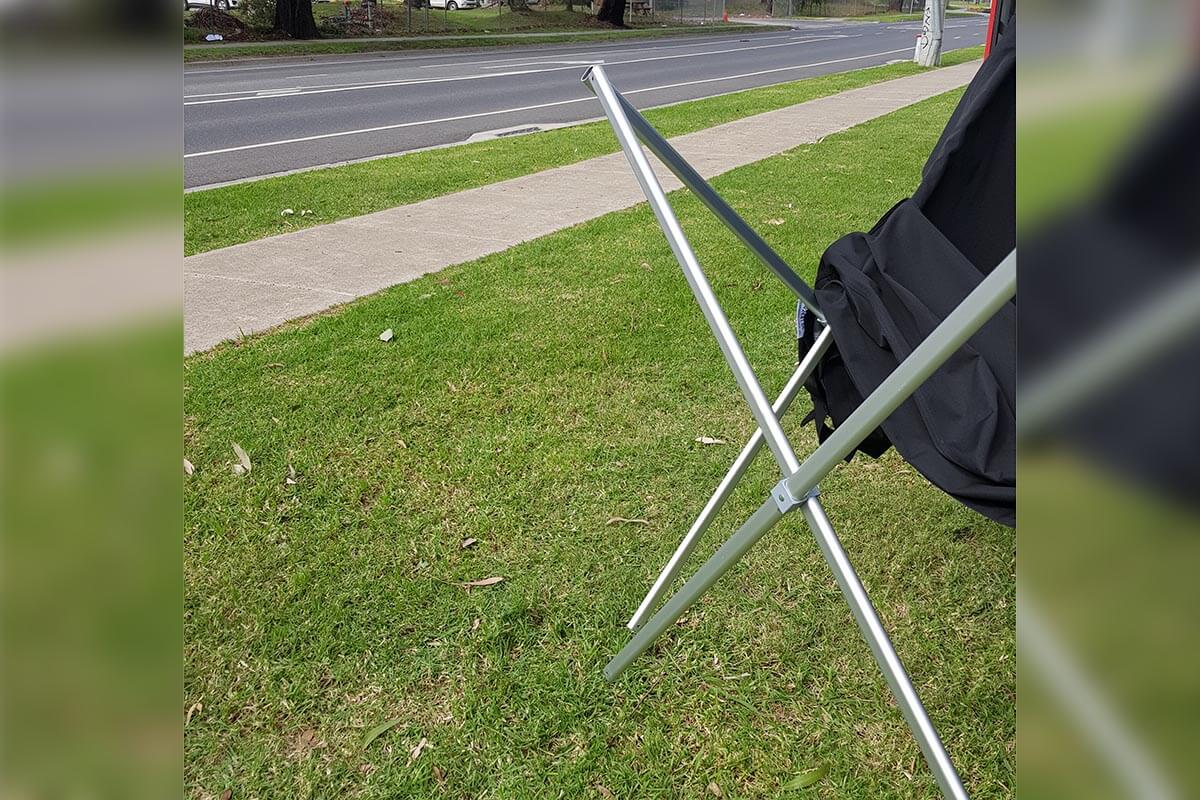
It is important to test your marquee by opening it up gently all the way. There shouldn’t be any resistance when opening up the frame, if there is, discontinue and double check everything is in place properly. If you still experience resistance, speak to us first before continuing.
When the frame is set up, all footplates should sit flat against level ground, and the leg should be straight. If anything appears out of order, or you simply aren’t sure on anything, please contact us so we can get you back on track!
Maintenance and Care
Now that your marquee is ready for action, it is also just as important to maintain your frame so you can get the best possible lifespan out of it. Here are some handy tips to ensure your marquee leg and it’s components last:
Extend Two Marquee Legs at a Time
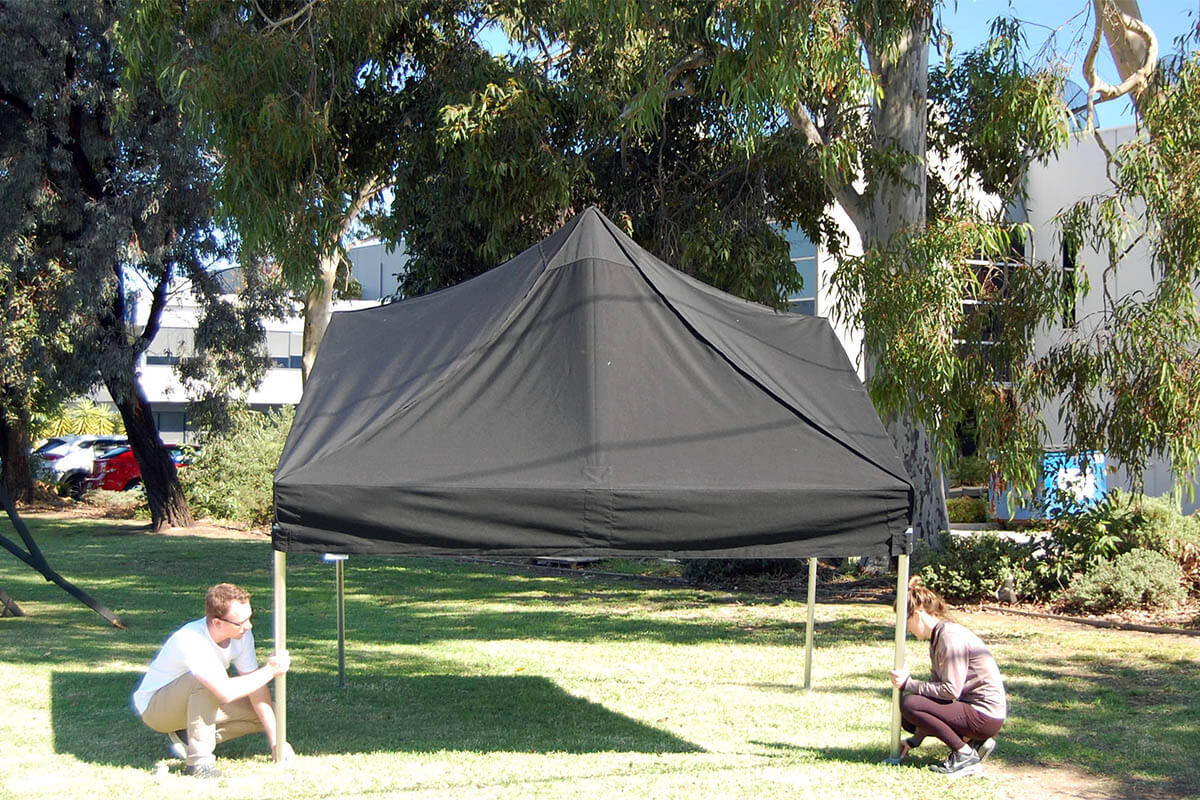
It is easier and safer if you have at least two people setting up the marquee. When you extend one leg at a time, you are putting a lot of pressure on that first leg, and if it’s a windy day, it is harder to manage on your own.
When the Pull Pin Clip is Being Stubborn
If you are having trouble pulling the clip back to extend the leg, we find it happens when another leg is already extended higher. If this is the case, stand up and lift the leg off the ground, so that the unextended leg is a bit more level. From there, you can try the clip and the inner leg should release.
Don’t Stand On the Footplate
One of the most common mistakes we see is when people stand on the marquee foot plate as they’re extending the leg or clicking in the corner connector. We always advise against this, as it is often the cause of damage or premature degradation of the foot plate. You can simply use both hands to feed out the inner leg without stepping on the footplate.
Be Gentle With the Pull Pins
When it comes time to pack down and release the pull pins on the upper connectors, don’t yank on the pull pin rings! We see a lot of pull pins get damaged this way. While it may be a small component, it is vital in keeping the marquee stable and secure.
Clean the Marquee Frame
Mainly for people who frequently use their marquee in muddy and sandy type environments, it is important to clean out the frame once in a while. Things like dirt, pebbles, and sand can clog up some of the marquee components and make it more difficult to use as time goes on. Using a low-level pressure hose for the hard-to-reach areas will be an effective way to get rid of all the gunk the frame collects.