To help ensure our marquee tops are waterproof, they feature a tape which covers the stitching lines on the underside of the marquee. This stops any water from seeping through the stitch holes and into your marquee. After years and countless applications of your marquee, you may be required to reapply the marquee waterproofing tape to these sections.
It may seem like an overwhelming task, but it really is super quick and easy. We supply free replacement marquee waterproofing tape for our customers, so if you haven’t contacted us already, simply give us a call and we can arrange it to be posted out to you.
Replacing the Tape
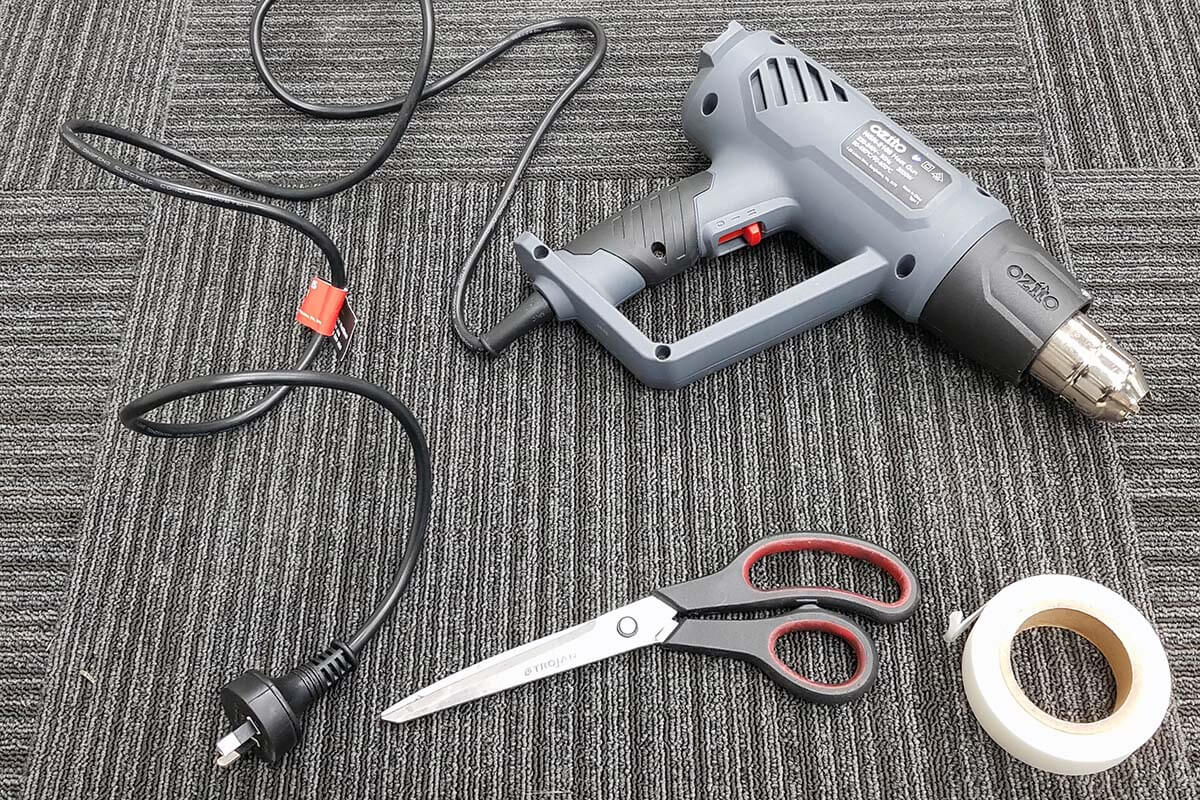
Tools Required:
- Heat Gun
- Scissors
- Waterproofing tape
Total time: 10 minutes
Set Up On A Flat Surface
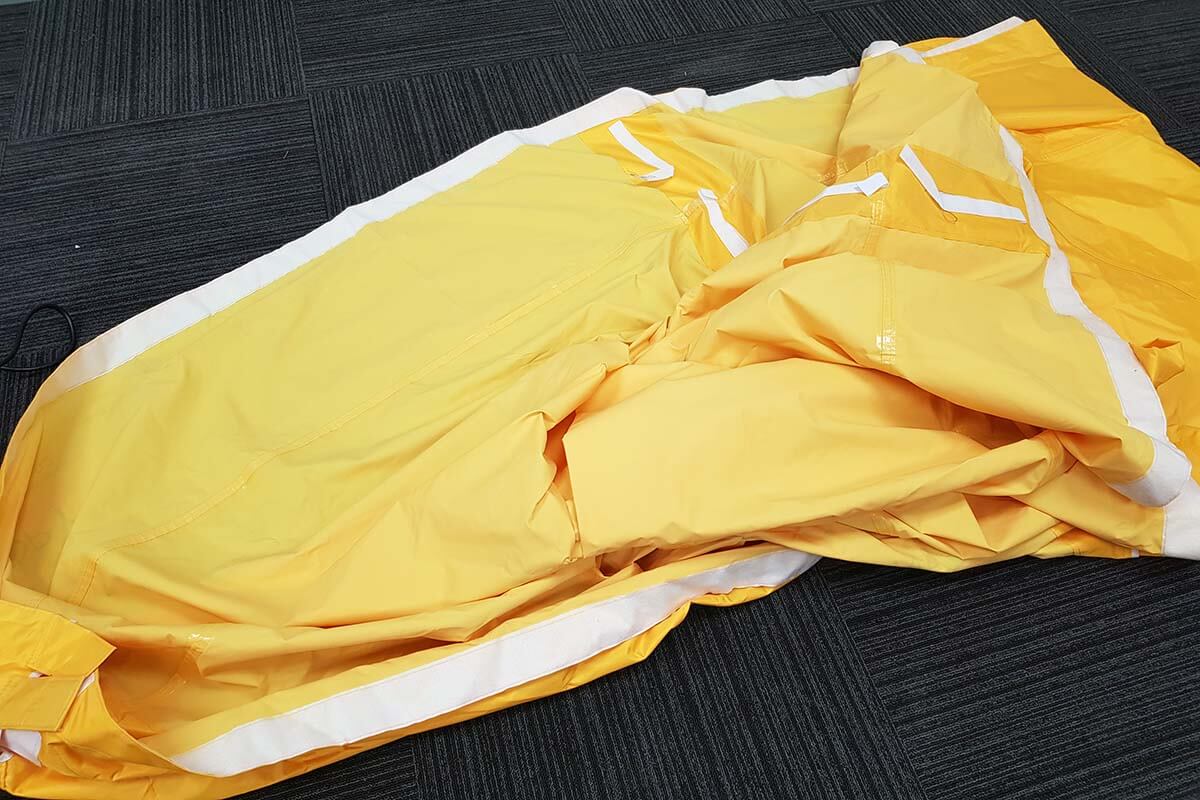
First we recommend you find a flat, clean space where you can open up the section where the stitching requires resealing. Working on a flat surface ensures a more consistent application of the tape.
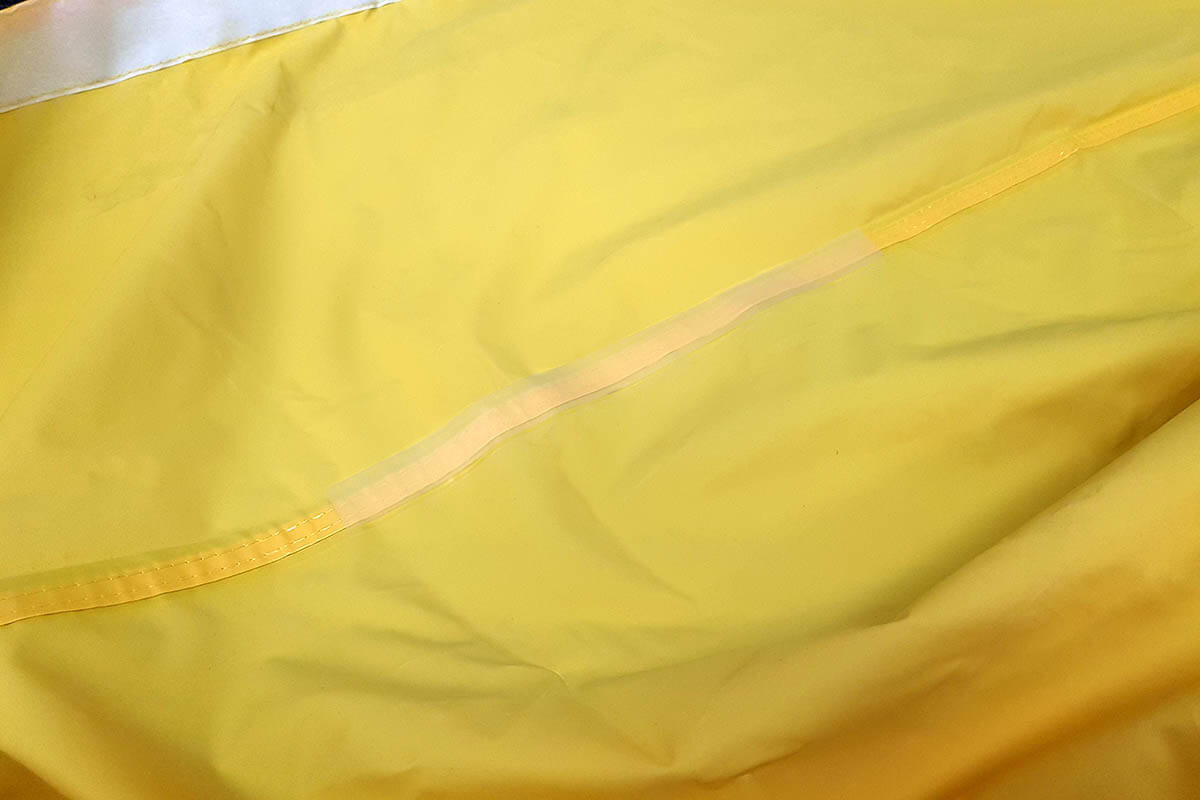
The tape will be applied to the inside of the roof (shiny side), where all the seams and Velcro fasteners can be found.
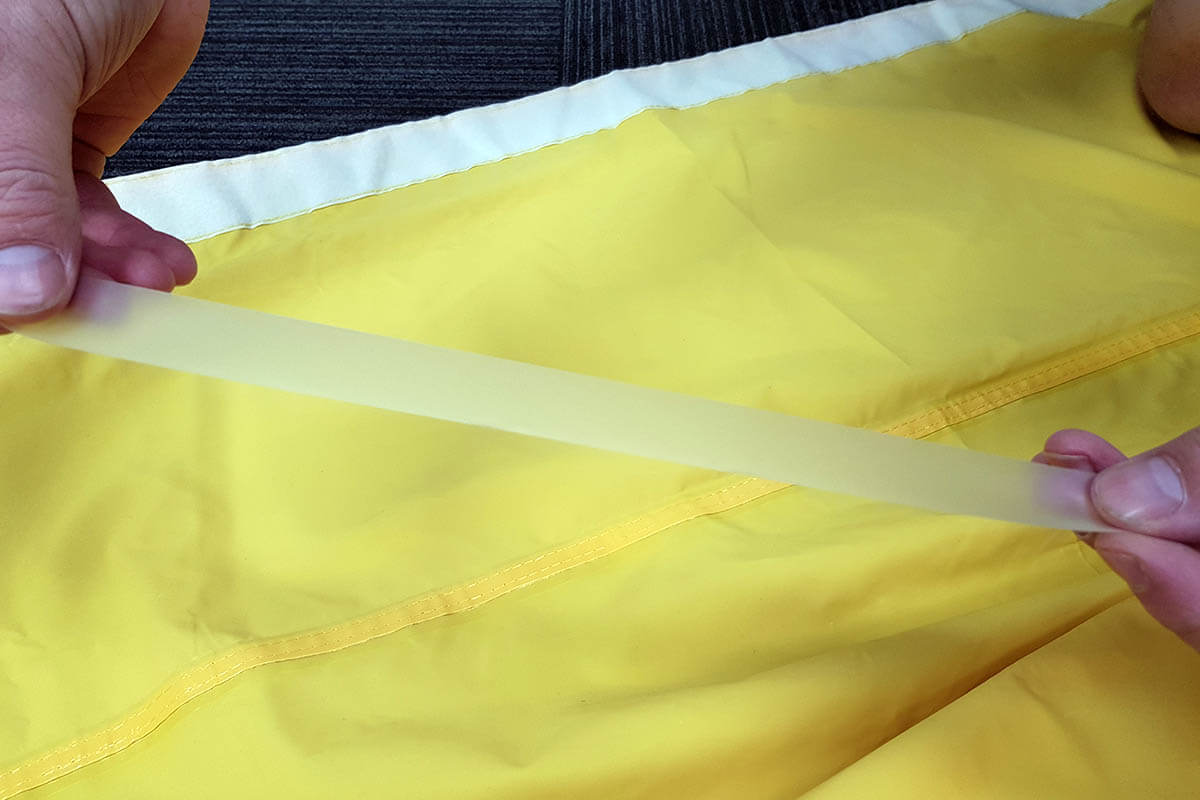
Use The Shiny Side Down
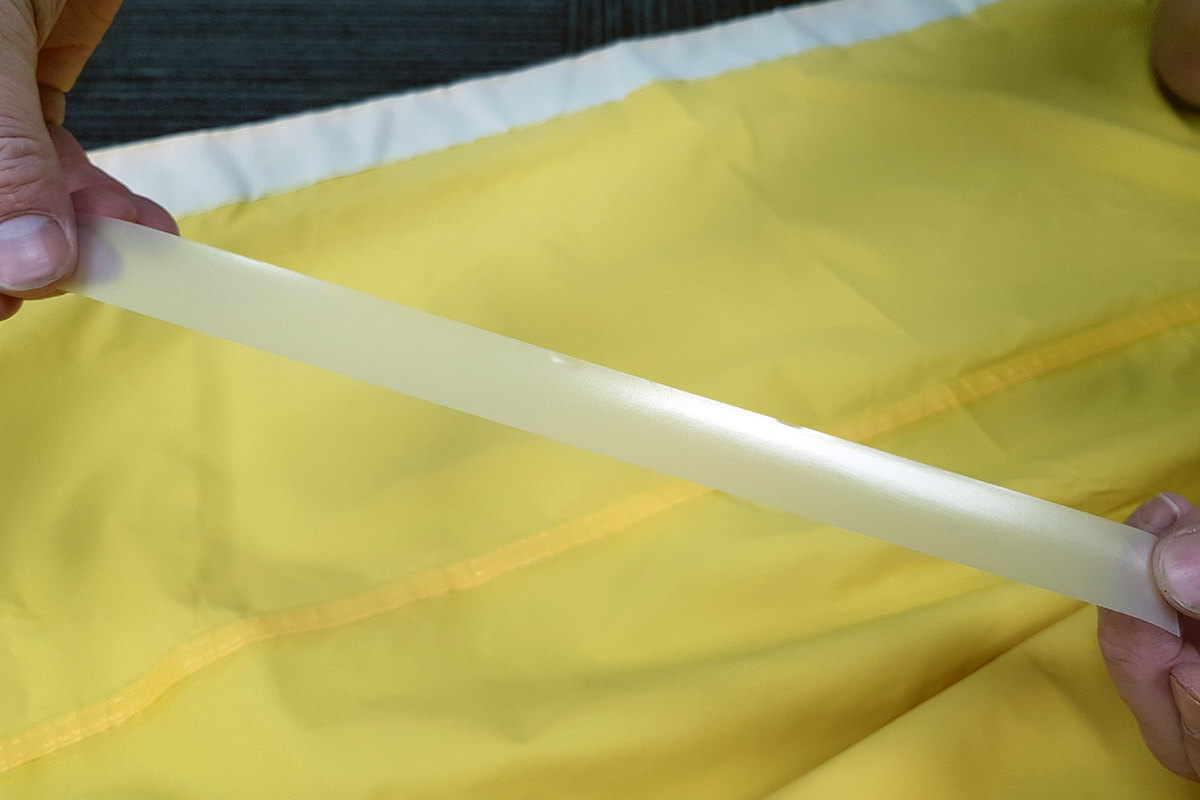
The marquee waterproofing tape has 2 sides. The shiny side of the tape needs to be applied against the marquee top surface. The difference between these two sides is subtle, so be sure to check closely.
Measure And Cut Tape Into Sections
The marquee waterproofing tape requires heating for it to become supple and seal to the marquee top. When it cools, the tape creates the waterproof barrier. We recommend you measure out the length of tape to cover the required area before you start heating the tape.
If the area you need to retape is a long section, we also recommend cutting the tape into smaller, more manageable sections rather than trying to complete in one action.
Allow For Overlap
Please ensure you allow at least a few centimeters of overlap where the soon to be heated tape covers over the existing sections which are adequately sealed, creating a continuous waterproof length.
If in doubt, it is better to cut and seal with a bit of extra tape rather than less.
Find The Right Heat Setting
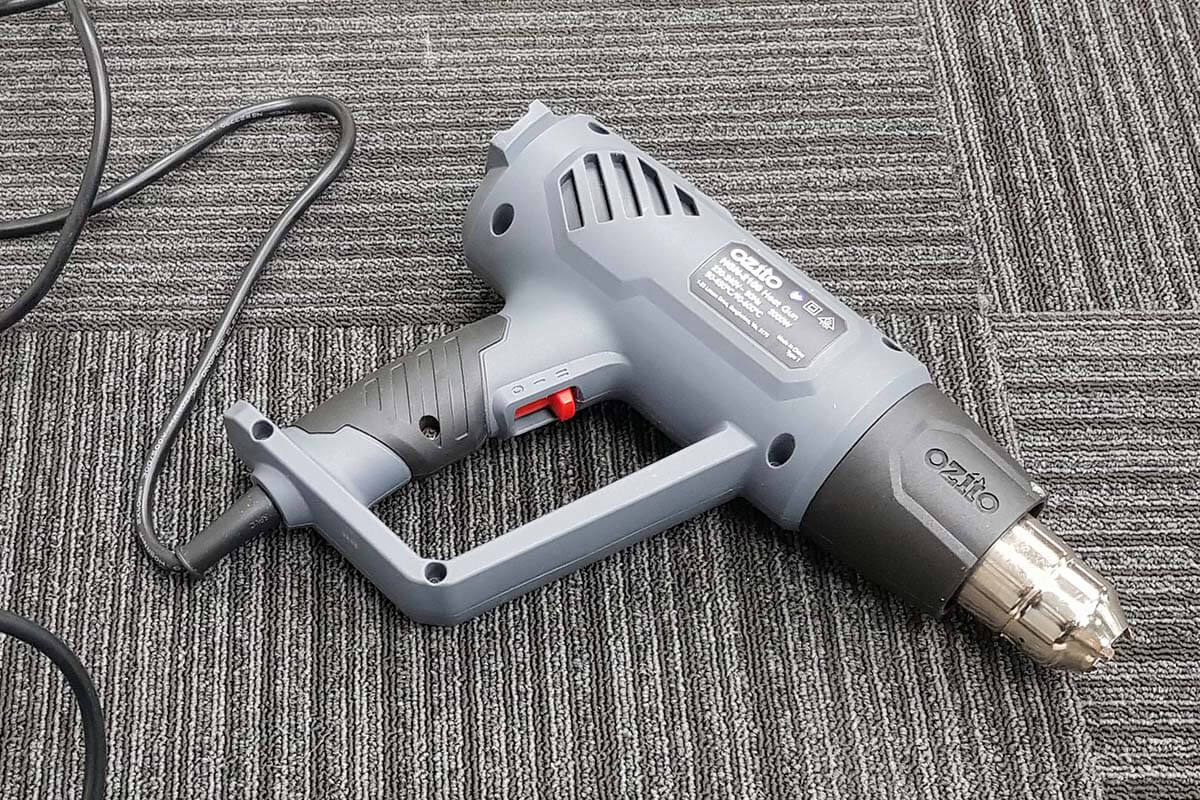
Plug the heat gun into a power source and dial the heat settings onto a medium temperature.
If you are unsure of the heat settings, start off at the cooler temperature and see how the tape reacts. If the temperature is too low it won’t become soft and sticky. In this instance, dial the heat up slightly and test again. It’s always better to start cooler and to adjust the temperature up rather than starting too hot and possibly damaging the marquee top.
Start Off Small
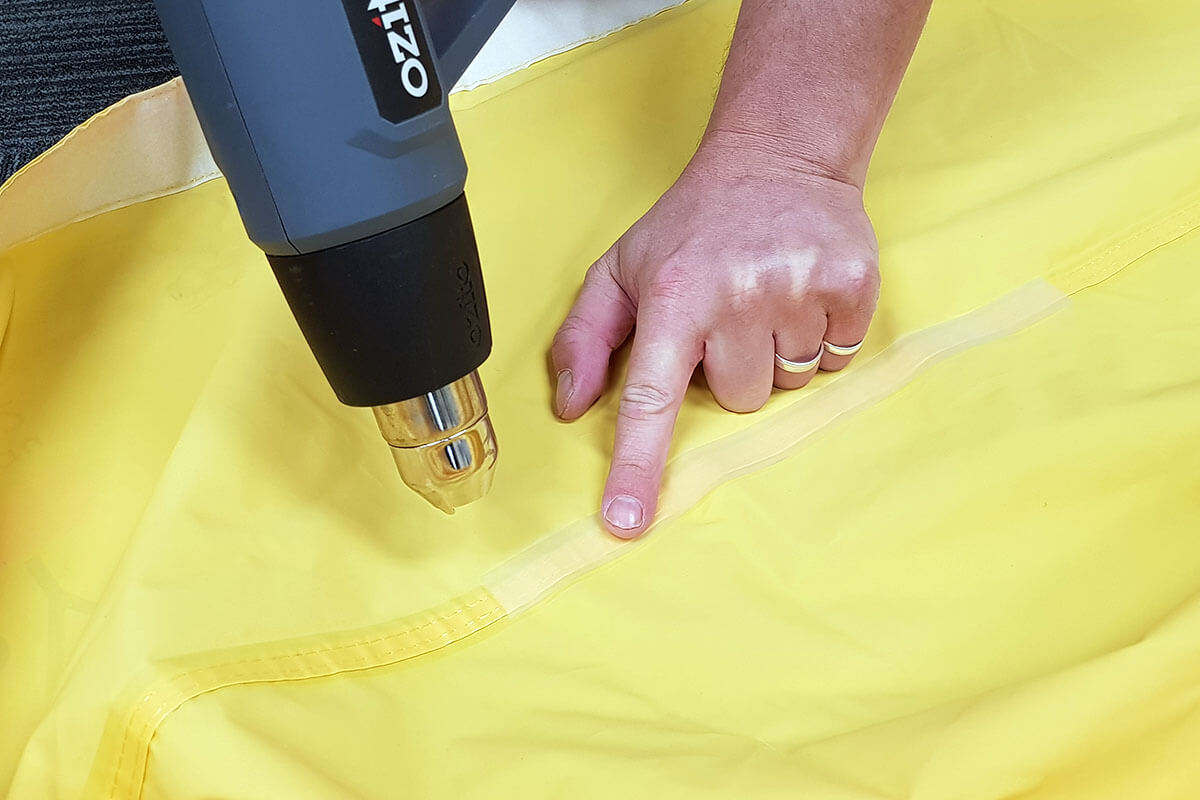
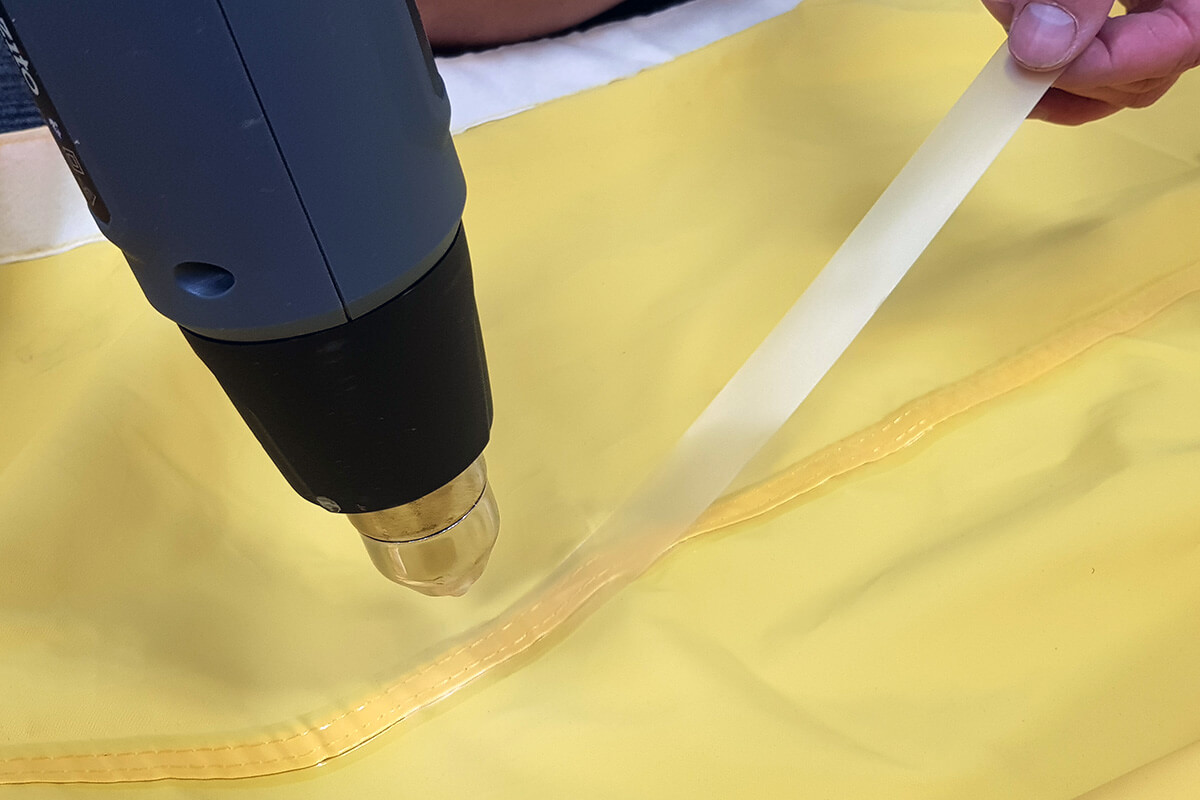
The best way to efficiently apply marquee waterproof tape along the seam is to heat a small section at one end, which creates a seal and solid attachment point. This should be around 3 or 4cm.
When the tape is sufficiently heated it will turn from opaque to clear and will easily stick to the marquee top. After a few seconds of cooling it will create an effective seal.
Fixing Any Mistakes
If you have been heating and applying the tape upside down, an effective seal won't be possible. The tape will not stick to the surface, it will just crumple up and usually fold up in small sections.
If this happens, no problem. Simply cut the heated section off (don't try and reheat a second time) and start again. At least you can be certain which side of the tape goes face down now.
Applying The Tape
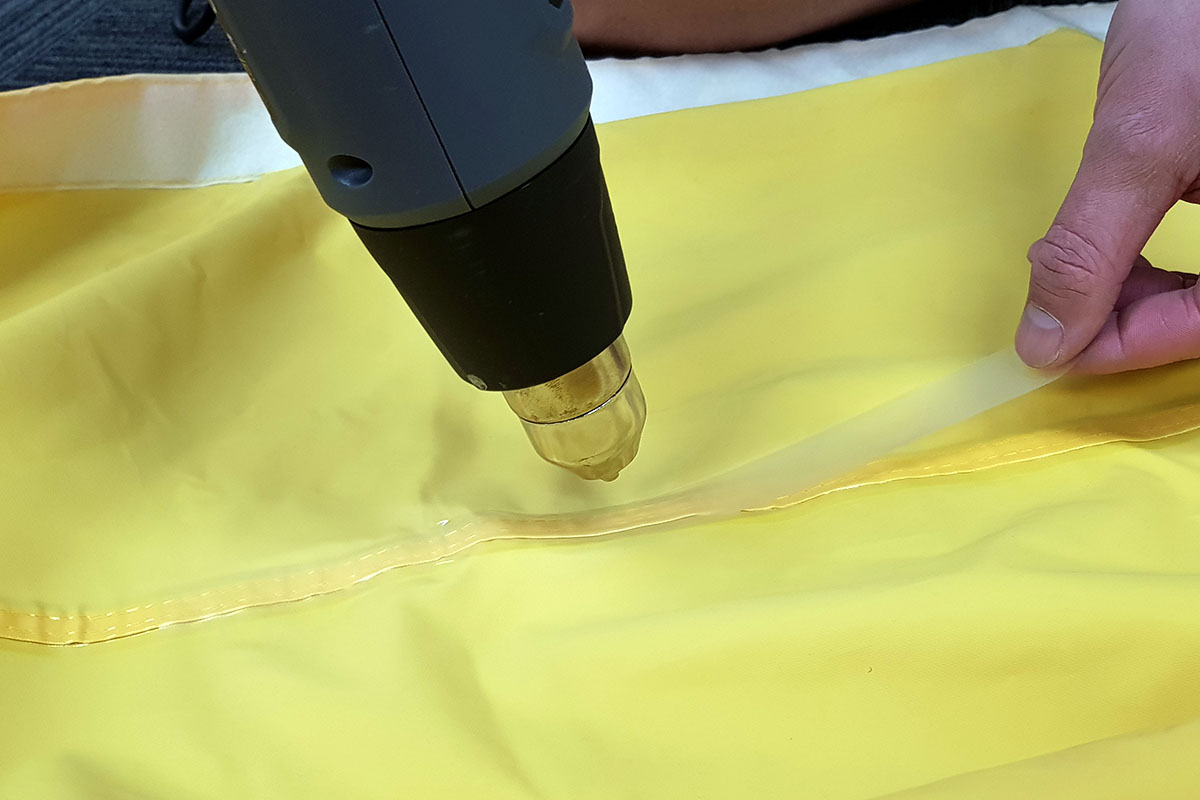
Once a solid seal has been created at one end, it's now time to progress along the remainder of the length.
Use one hand as a guide, moving along the length to keep the tape in position whilst the other hand follows, holding the heat gun.
Spot Check
Always ensure that the seam which requires repair is located in the middle of the tape you are applying.
Check that all sections of the stitching have waterproofing tape sealed over the top of it, eliminating any spots for moisture to possibly enter.
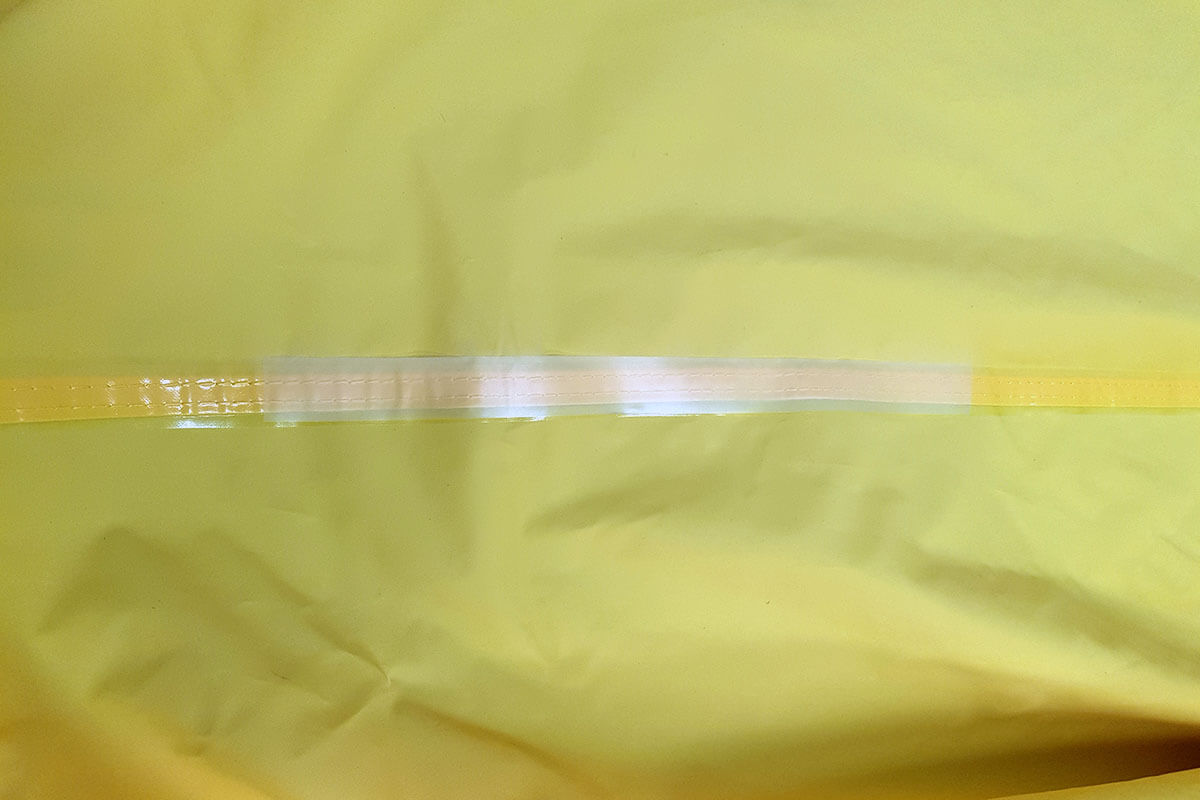
The photo above shows how the heated and sealed tape on the left dries clear, whilst the unsealed tape on the right remains opaque.
Finishing Up
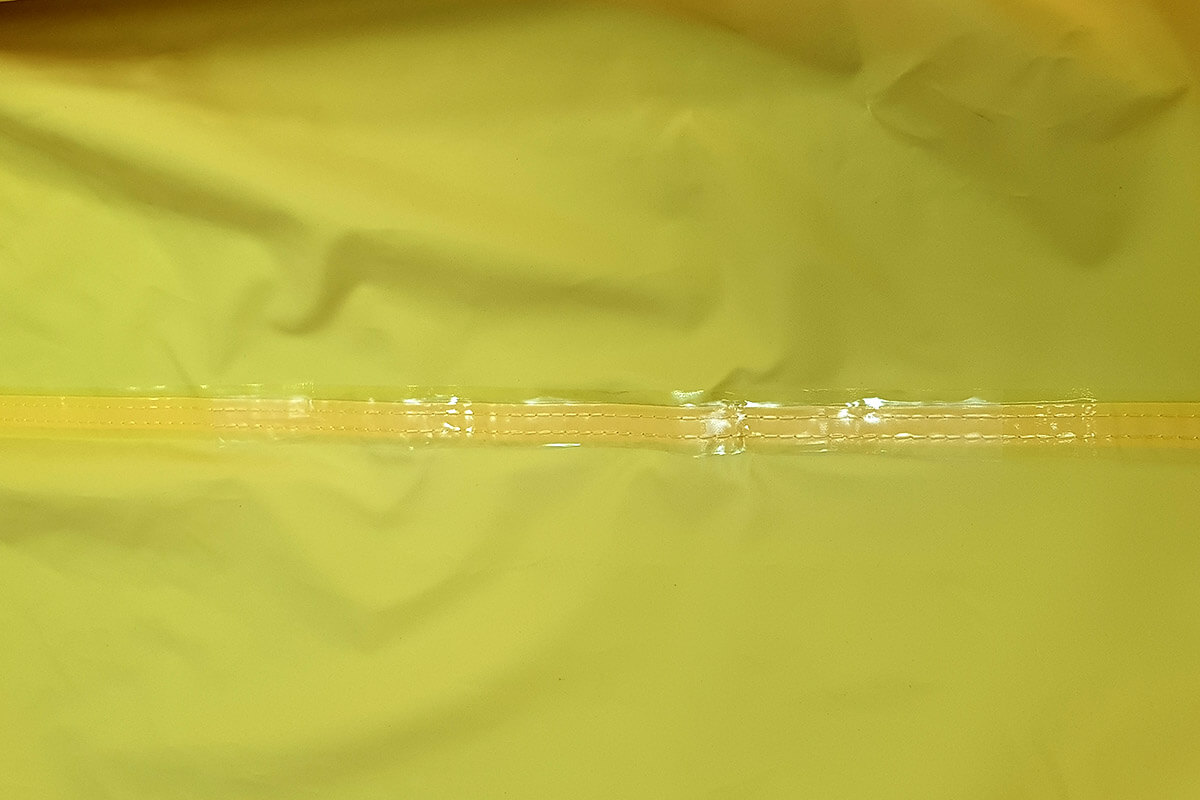
A correctly reapplied waterproof tape section should appear clear over the seam. As shown above, the tape has dried clear and has sealed the seam with tape overlapping the ends we’ve joined, plus overhanging the seam lines.
Conclusion
Your canopy top is now good to go in wet weather! With proper care and maintenance, your top can continue to last for many years to come.
If you have any questions or concerns during the applying stage, please discontinue and contact us. We want to ensure you feel confident throughout the whole process, so no matter how silly the questions may seem to you, we are here to help!