
Folding a gazebo shouldn’t be hard, however with all the different brands out there, every pop up gazebo will have their differences. Just like cars, tvs, and Ikea furniture, they all set up/run a bit differently and each product will have their own appropriate guide. Most importantly, you don’t want to run the risk of damaging your new investment.
Following this expert guide will show you the safe and correct way on how to put up a gazebo, and how to fold it down. If you encounter any issues, or if anything is not clear, it is vital that you stop and contact us immediately so we can assist and advise you of the next step.
Set up time 5 minutes
Partially Open The Frame
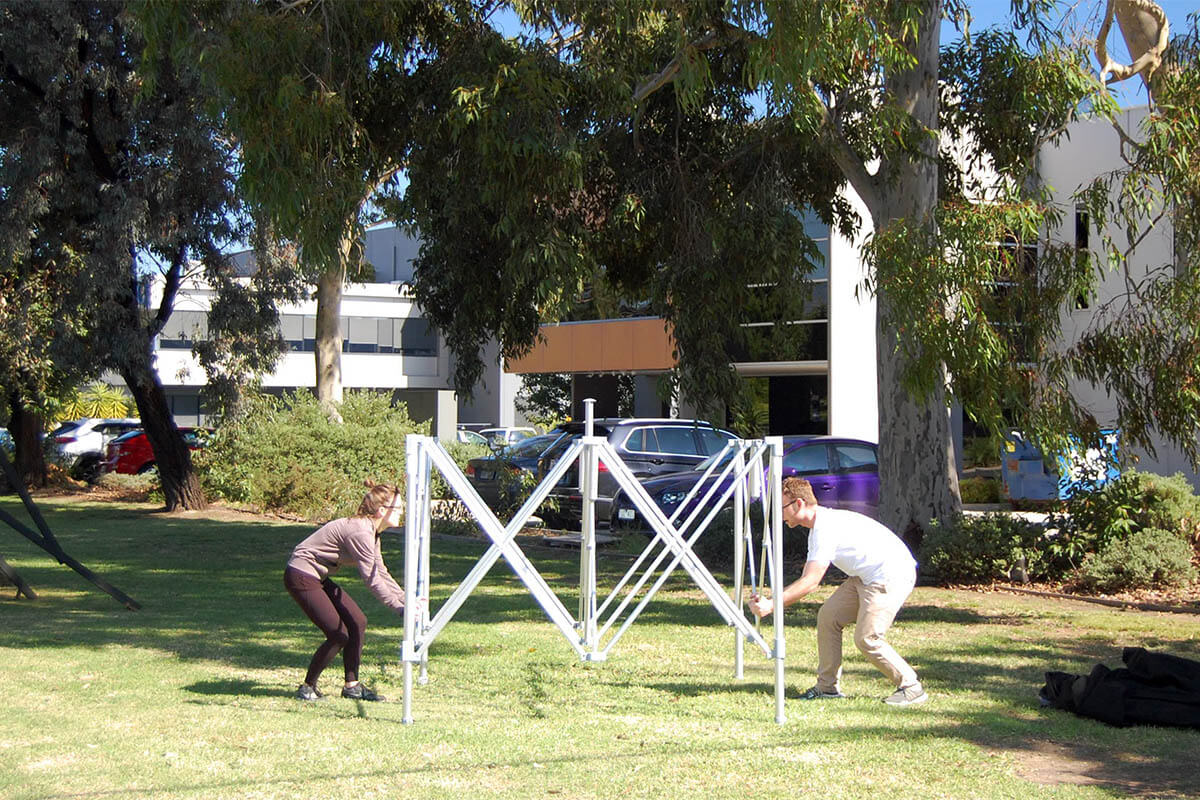
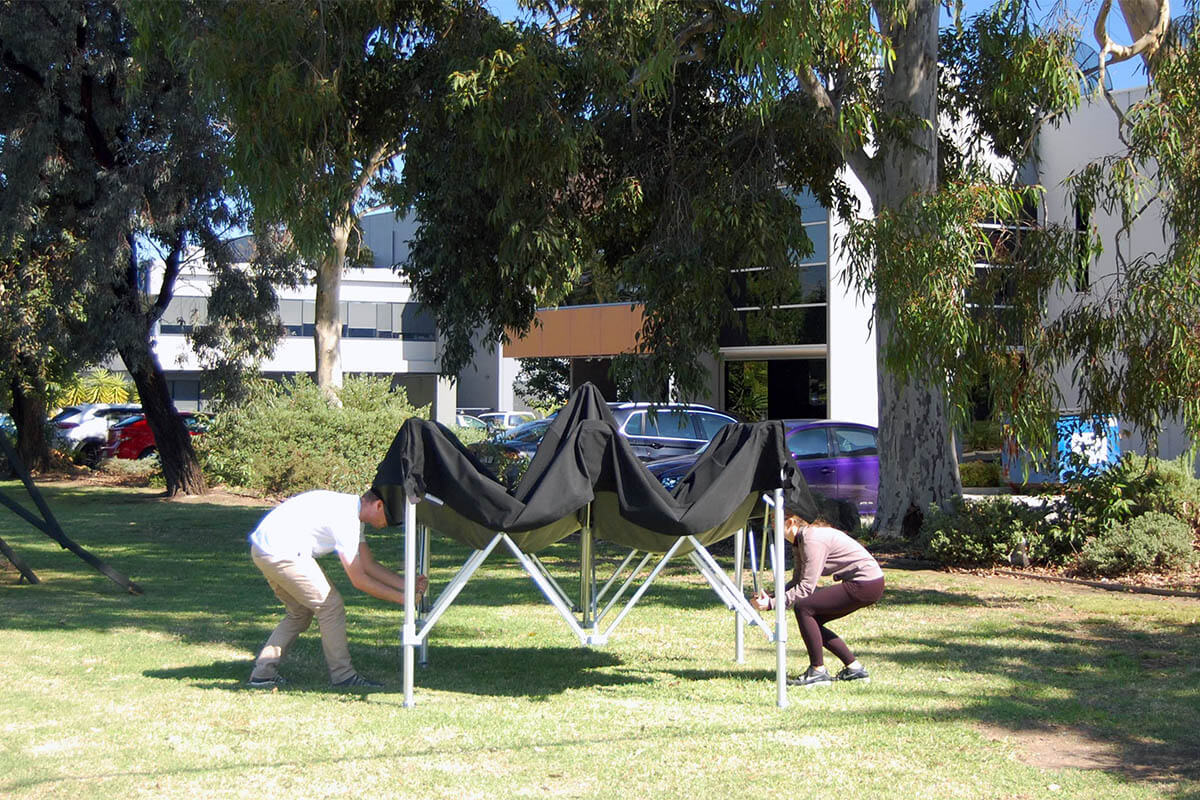
Open your frame around 30% of the way, so that the centre pole is around face height. You will need to be able to reach this pole in the next few steps. Note: Rectangular gazebos can have 2 or 3 centre poles.
Position The Roof To The Frame

Just like when you find the corners of a fitted bed sheet, we recommend opening your roof, and taking hold of two parallel corners. Throw one corner over the frame and line it up to the corner leg opposite you, and then line up the other corner to the corner leg closest to you. Repeat this on the other side.
Secure The Corner Velcro
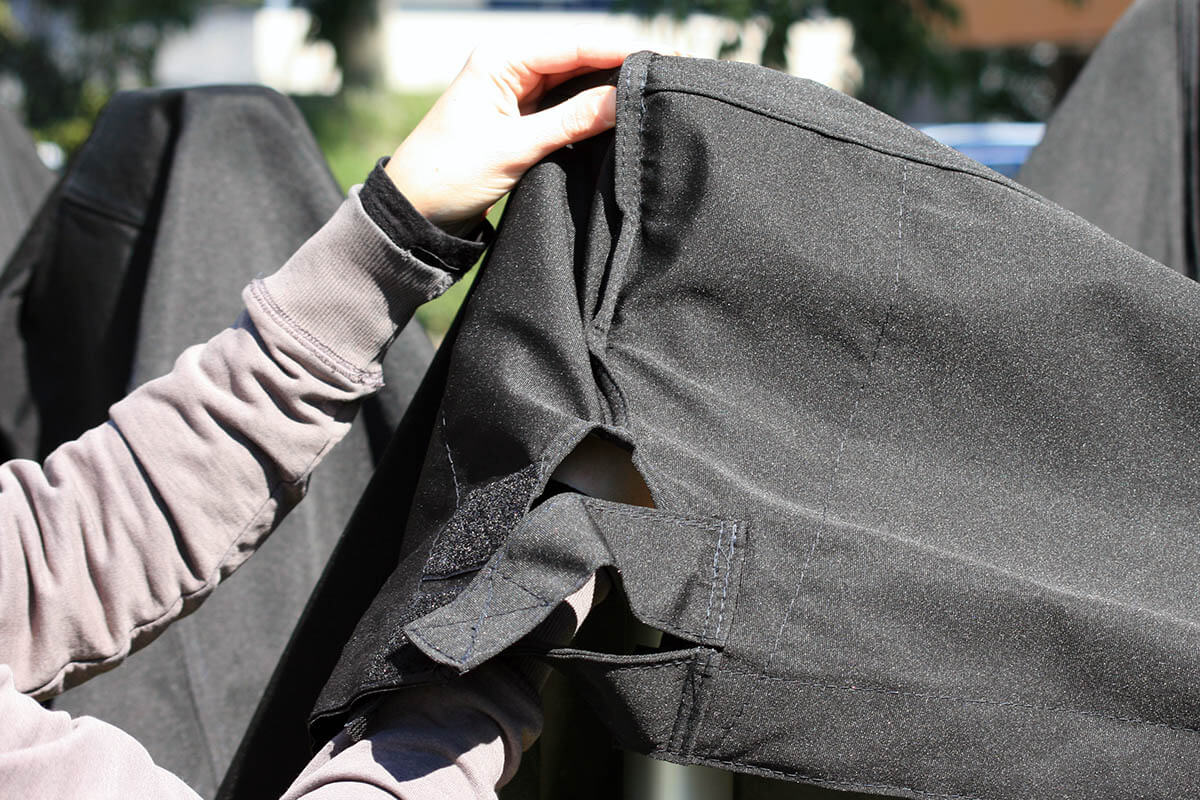
The corners of the canopy roof need to be attached to the frame correctly. Ensure the canopy top is sitting square with the gazebo’s corner connector. Use the velcro inside each corner of the roof and attach to the leg of the gazebo frame. The corner should be tight and properly secured.
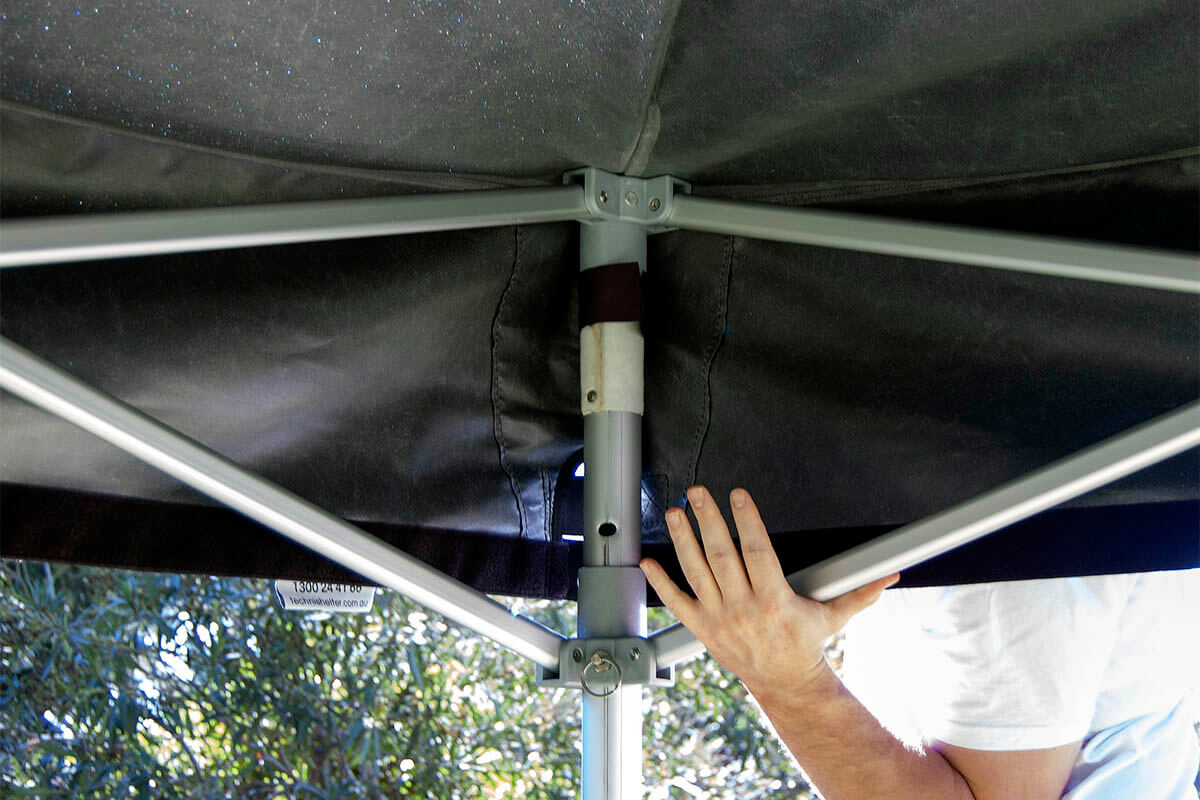
Attach the Centre Pole Pouches
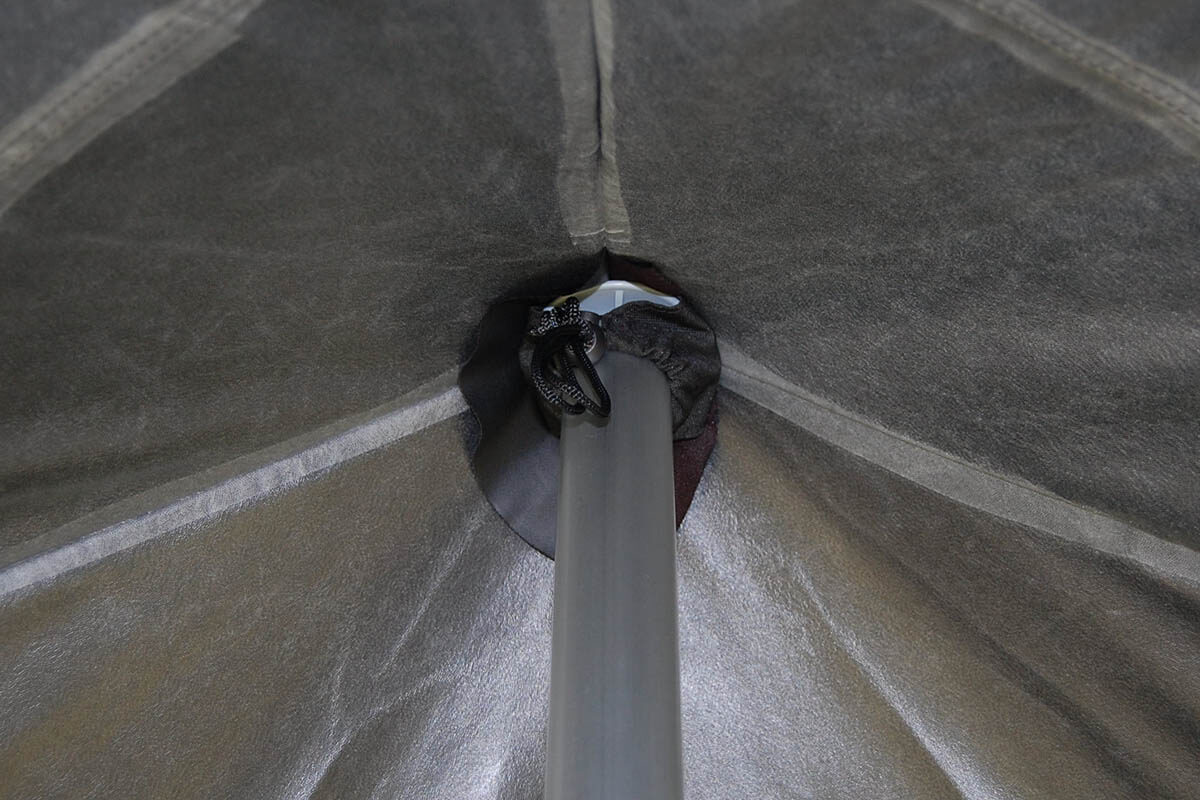
Place the pouch over the top of the centre pole, and pull the drawstring tight. As these can slip out over time, it is recommended that you tie a knot for any excess length.
Continue To Expand The Frame
With two people, stand on opposite sides, grab the bottom cross bars (middle bars that form a V shape), lift up the gazebo, and slowly walk backwards to allow the frame to expand. For rectangular marquees, expand the frame from the shorter sides.
Handy tip: You can crawl underneath your gazebo and push the frame up from the bottom of the centre poles as a quicker and more effective way to expand your frame.
Click In The Leg Connectors
At one corner, undo both Velcro tabs on the canopy top and roll it up half way. You’re now ready to click in the connector. Push the connector upwards until it clicks into place (you will likely hear the click). This is easiest with one hand on the top of the corner leg, and your stronger hand grabbing the cross bar closest to the connector. You can then roll down the canopy top and do up the Velcro tabs. Repeat for all legs.
Secure The Valances
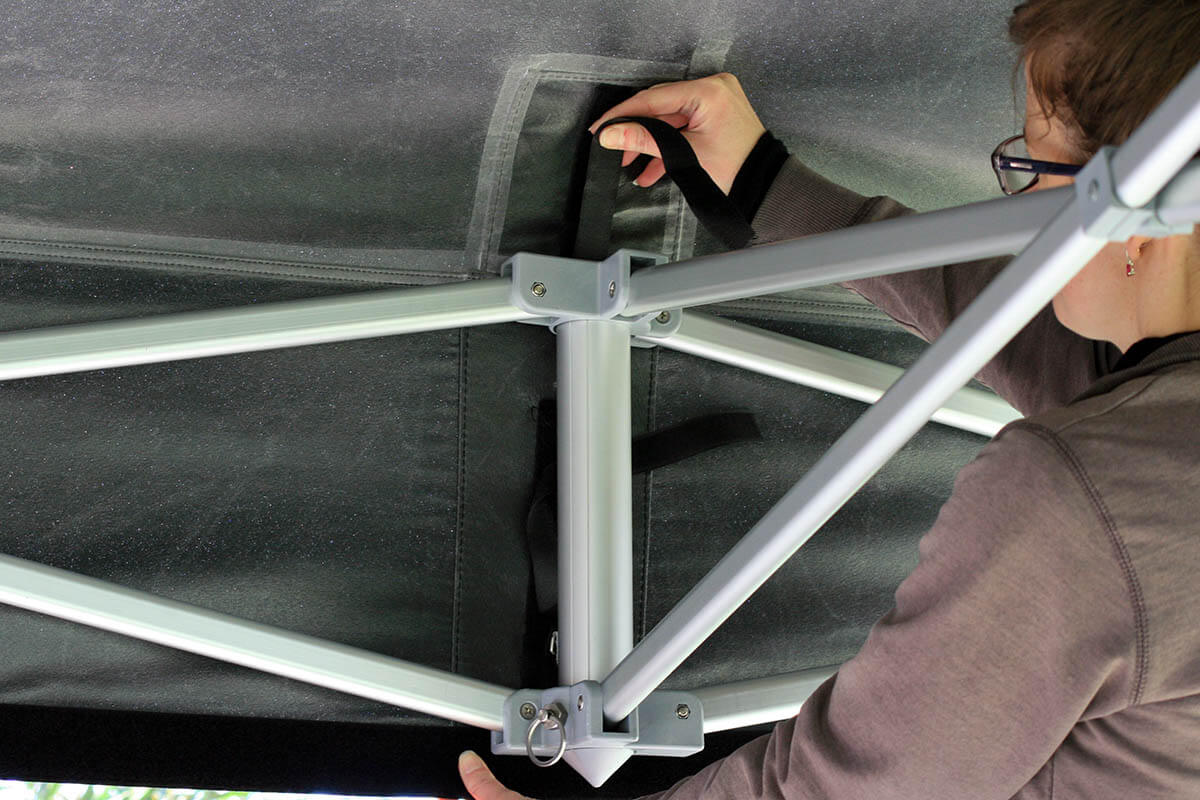
Halfway between the legs, there are two sets of lengthy Velcro straps that align with the connectors. They may seem small, but these Velcro straps serve an important role in preventing roof pooling.
Feed the upper Velcro strap by pushing it up from underneath the upper connector, through the slits, and smooth it back onto itself. Once the top velcro is attached, repeat the same for the bottom velcro.
Raise The Gazebo
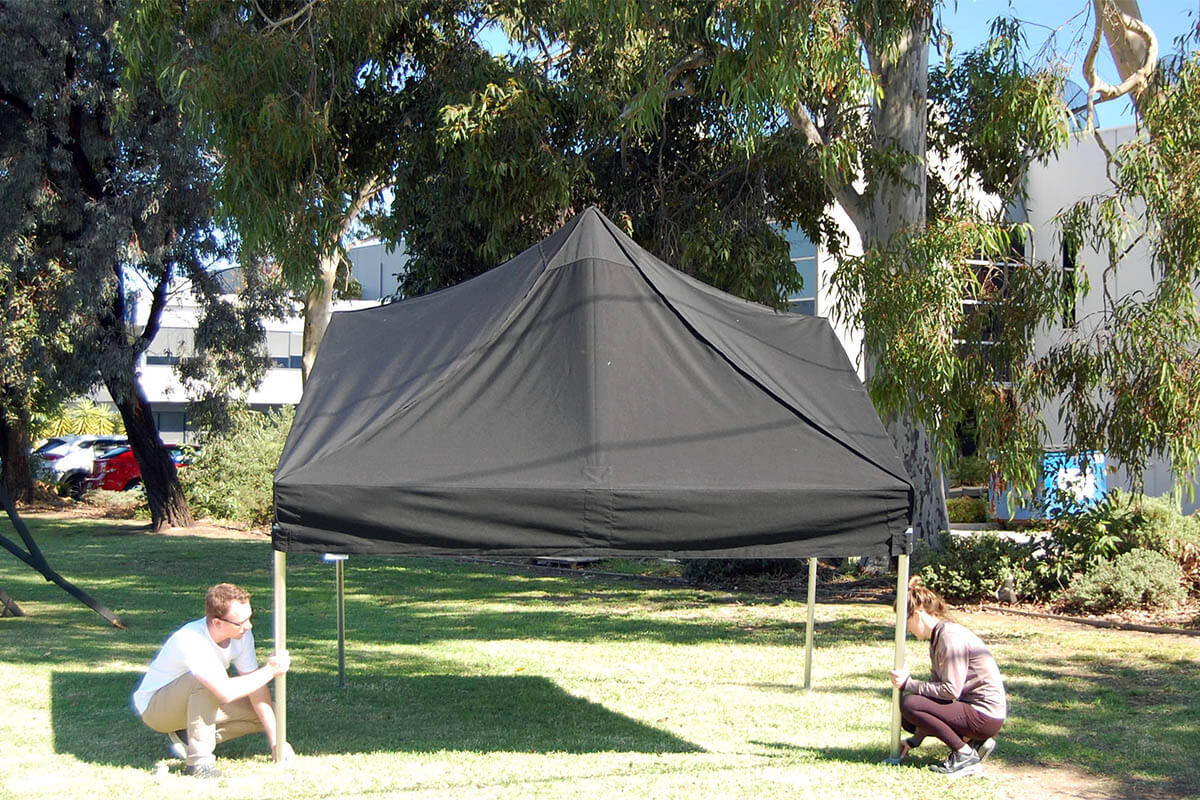
Now the top is attached to the frame correctly, you need to raise the gazebo. To raise a leg, you need to pick up the leg off the ground and then pull the ring / push the button (model dependent) to release the lower leg to slide. It will just slide out, you do not need to step on the footplate. Stepping or standing on the feet can damage them.
Assist the lower leg to extend until it clicks into it’s first height. Repeat this step for all the legs, doing one side at a time.
Adjust the Gazebo Height Setting
You can now adjust the height of the legs for the gazebo. There are three height settings, with a 10cm difference between them. We recommend starting on the lowest setting, and then raising each leg as you require.
IMPORTANT: Ensure that all legs are straight and are not awkwardly leaning in or out of alignment. All legs must be adjusted to the same height. Your gazebo must also be installed on level ground.
Add Side Walls (Optional)
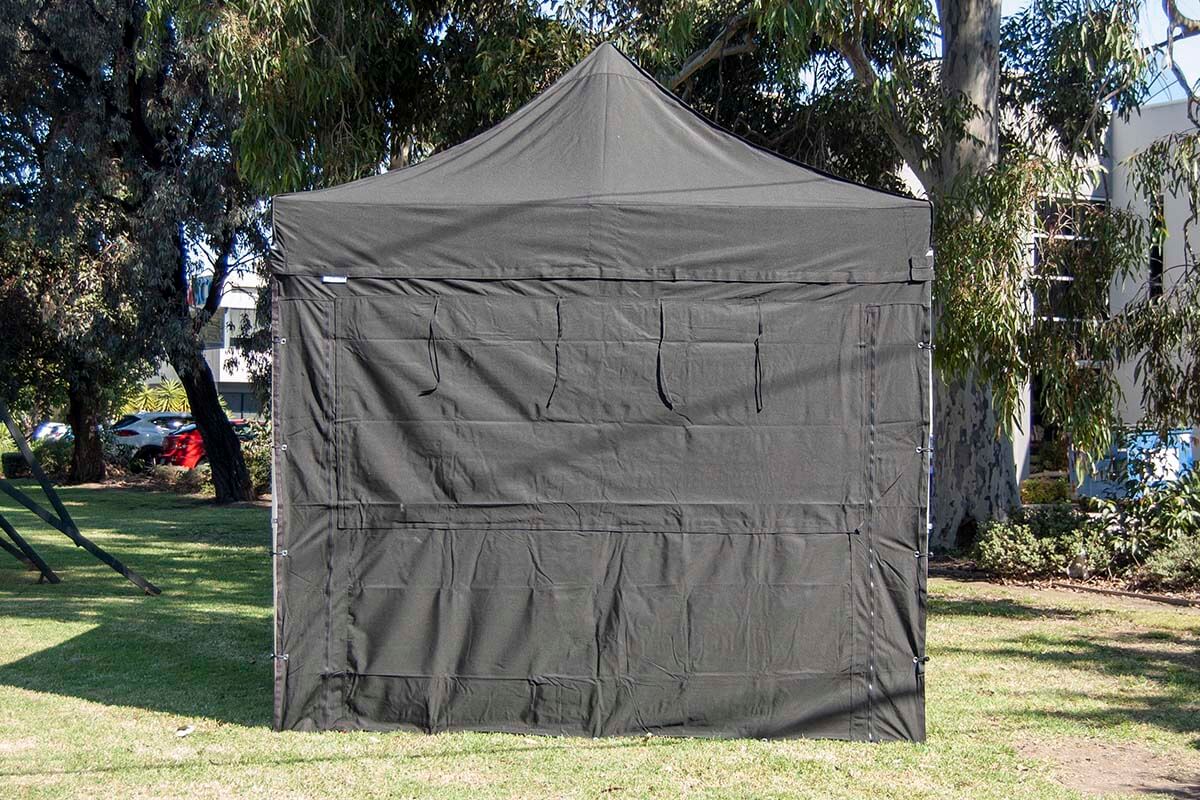
Side walls are attached to the canopy top with velcro. The top edge of your wall will have a 5cm wide velcro strip and attaches to the inside of the canopy top. The side edges of your walls also velcro together.
Using the elastic toggles provided, place these through the side eyelets in the wall and wrap it around the leg of the marquee. If joining onto an existing wall, ensure both walls are velcroed together and you can then share toggles for both walls.
Secure Your Gazebo Against Wind
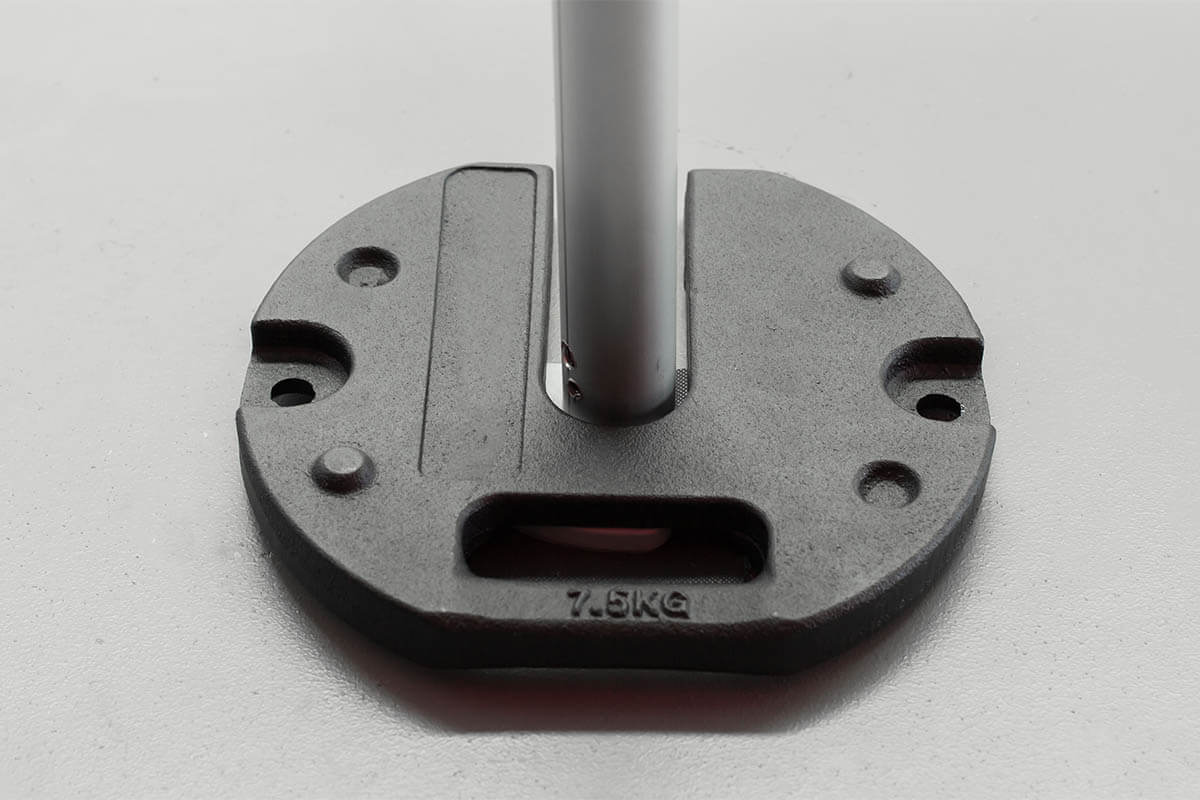
We always advise the use of pegs and ropes (where possible), as well as leg weights.
To install a rope, first you will need to undo the corner velcro flaps on the roof. Then attach a rope to the leg (above the connector) and feed the rope out through the gap in the flaps. The flaps can now be closed with the rope extending out of the gazebo.
Next, you will need to secure the rope with a peg into the ground. Use the rope on the shallow-most possible angle (this provides optimal strength) and then drive the peg into the ground at 45 degrees away from the gazebo. The rope will then hook around this peg.
Repeat for all legs.
[Folding Up] Remove The Side Walls & Lower the Gazebo
Remove the side walls and fold them up separately. These cannot stay attached when you fold a gazebo down.
The pull pins on the legs and the corner connectors can be released by gently pulling them out using the pull pin rings. Do not use excessive force, as this can cause the spring to slip out of place inside the pull pin (which is what holds the pin in place).
If you find there is resistance in releasing the pins, try raising the leg off the ground to relieve some tension. This should do the trick!
[Folding Up] Undo The Velcro
For our polyester, NextUV and DuraWeave canopy tops, these can all remain on the frame when folding down. Hooray!
Don’t forget to undo the bottom Velcro straps on the valances (all other Velcro can stay attached), otherwise you won't be able to fold down your frame.
[Folding Up] Collapse The Frame
With two people, stand on opposite sides. Grab the two upper central cross bars (above the bottom cross bars you used earlier), lift the gazebo up slightly, and walk the frame in towards each other.
[Folding Up] Pack The Gazebo For Storage
With a second person, you can fit the top of the bag on, lean the bag towards your helper so you can tuck the bottom of the bag under the feet. Lean the bag back towards yourself, so your helper can do up the Velcro on the bag.
The carry bag can store the side walls on top of the gazebo, and the side pocket can store your pegs, ropes, and side wall toggles.
Congratulations - you have now mastered how to fold a gazebo like an expert.
Frequently Asked Questions
Below are some commonly asked questions relating to the above guide.
How many people are required to set up a gazebo?
We recommend a minimum of two people for any of the sizes available, however the ideal number of people is equal to the number of legs the gazebo has.
Should I take any special care if setting up on uneven ground?
Yes, you must level the gazebo after setting it up to ensure that any rain water can run off the roof appropriately.
Do I have to weight / peg the gazebo?
An unsecured gazebo is an accident waiting to happen. In all circumstances, the gazebo needs to be secured to the ground using any of the available marquee weighting options while at the same time ensure that the anchorage system is appropriate for the weather conditions you're intending to remain set up in.
Can I put away the gazebo with the roof on the frame?
This is not an issue but you must ensure that the roof is dry otherwise there is a risk of mold developing. Also note that if you leave the roof on the frame and lay the gazebo onto it's side during transport, excessive vibration may cause pin holes to form in the roof which is considered wear and tear.